Ono Grindz 808
Sweets & Baked

Chocolate Haupia Pie

A chocolate custard layer under cool coconut haupia, in a graham crust — Hawai'i's answer to cream pie.

Chocolate Haupia Pie
Prep30 min
Cook20 min
Total50 min + 4 hr chill
Serves8

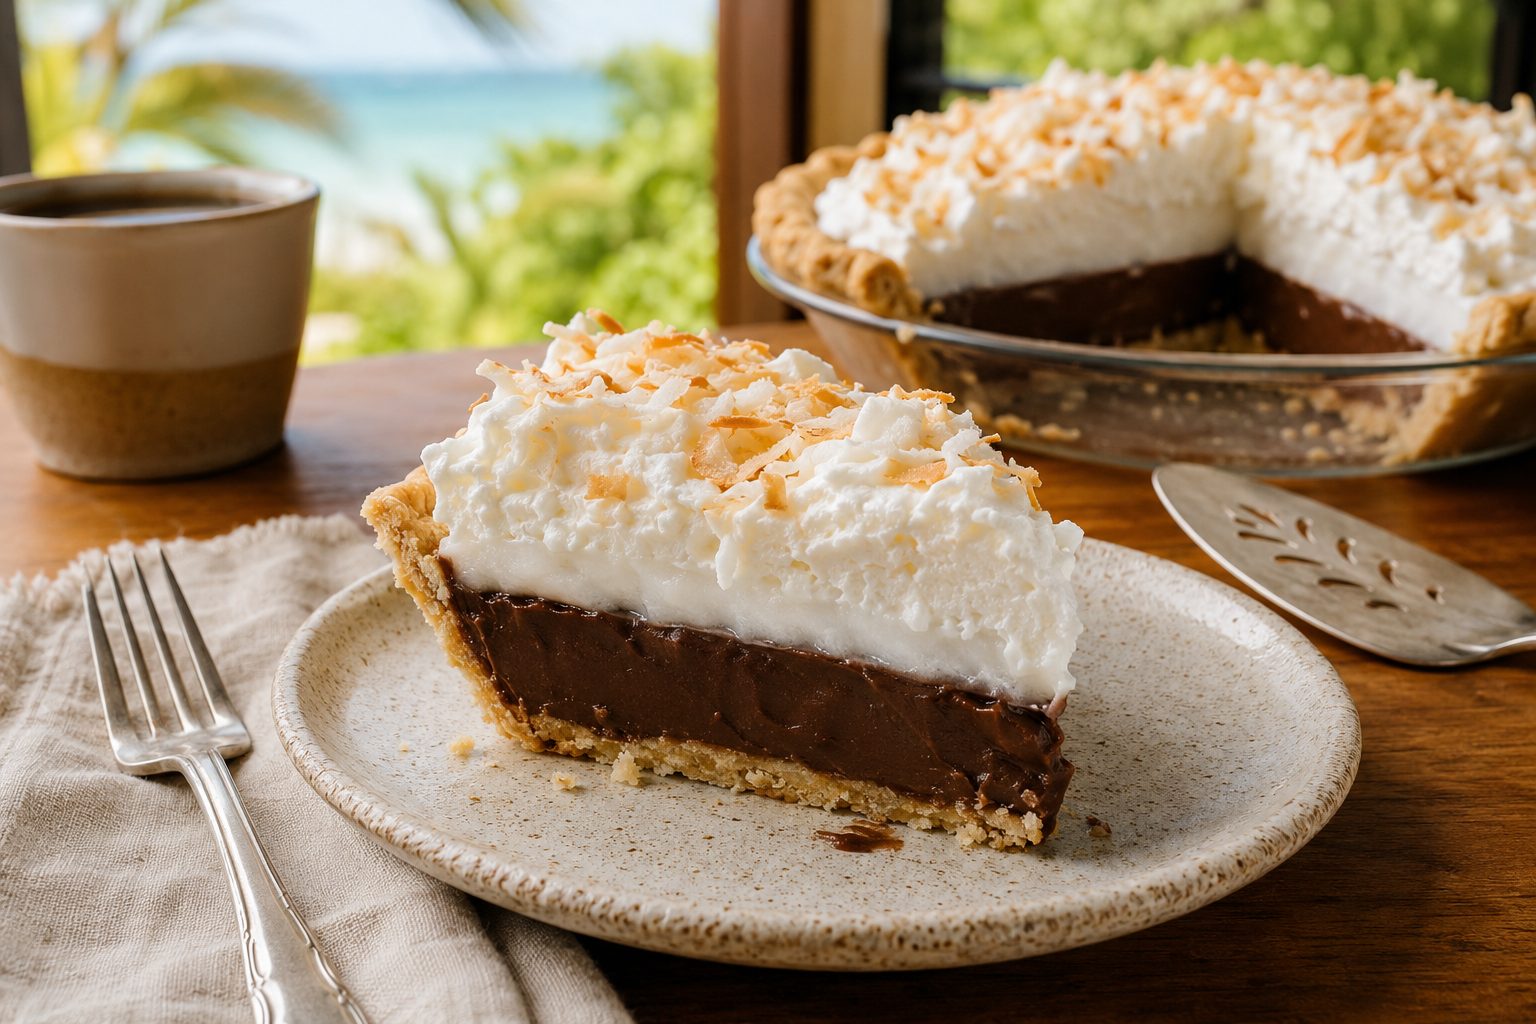
This is the pie every local bakery is known for — a layer of rich chocolate custard topped with a clean, white layer of coconut haupia, chilled until both layers set into neat, sliceable wedges. It's the dessert equivalent of a plate lunch: familiar, a little indulgent, and always the first thing to go at a party.

The two layers are simple on their own; the only real trick is letting each one set before adding the next, so it slices cleanly instead of collapsing into itself.

How fo’ make ’um

  1. Make the crust: stir graham crumbs, melted butter, and sugar together, press firmly into a 9-inch pie dish, and bake at 350°F for 8–10 minutes. Cool completely.
  2. Make the chocolate layer: whisk sugar, cornstarch, and salt in a saucepan. Gradually whisk in the milk, then cook over medium heat, whisking constantly, until it thickens to a pudding consistency.
  3. Remove from heat and stir in the chopped chocolate and vanilla until smooth and fully melted. Pour into the cooled crust and smooth the top. Chill 1 hour, until just set.
  4. Make the haupia layer: whisk the cornstarch into the water until smooth. Warm the coconut milk and sugar in a saucepan, then stream in the cornstarch slurry while whisking.
  5. Cook, whisking constantly, until the mixture thickens into a heavy pudding that holds a trail on the whisk, about 4–5 minutes.
  6. Pour the warm haupia over the set chocolate layer, smooth the top, and chill at least 3 hours, until fully set. Slice with a knife dipped in hot water for clean cuts.

Local tips

  • Let the chocolate layer set before adding the haupia, or the two layers blend together instead of staying distinct.
  • Full-fat coconut milk is essential for the haupia layer to set properly — light coconut milk stays too soft.
  • A dusting of toasted coconut flakes on top finishes it nicely for serving.

Keep grinding

More liddis

← All recipes